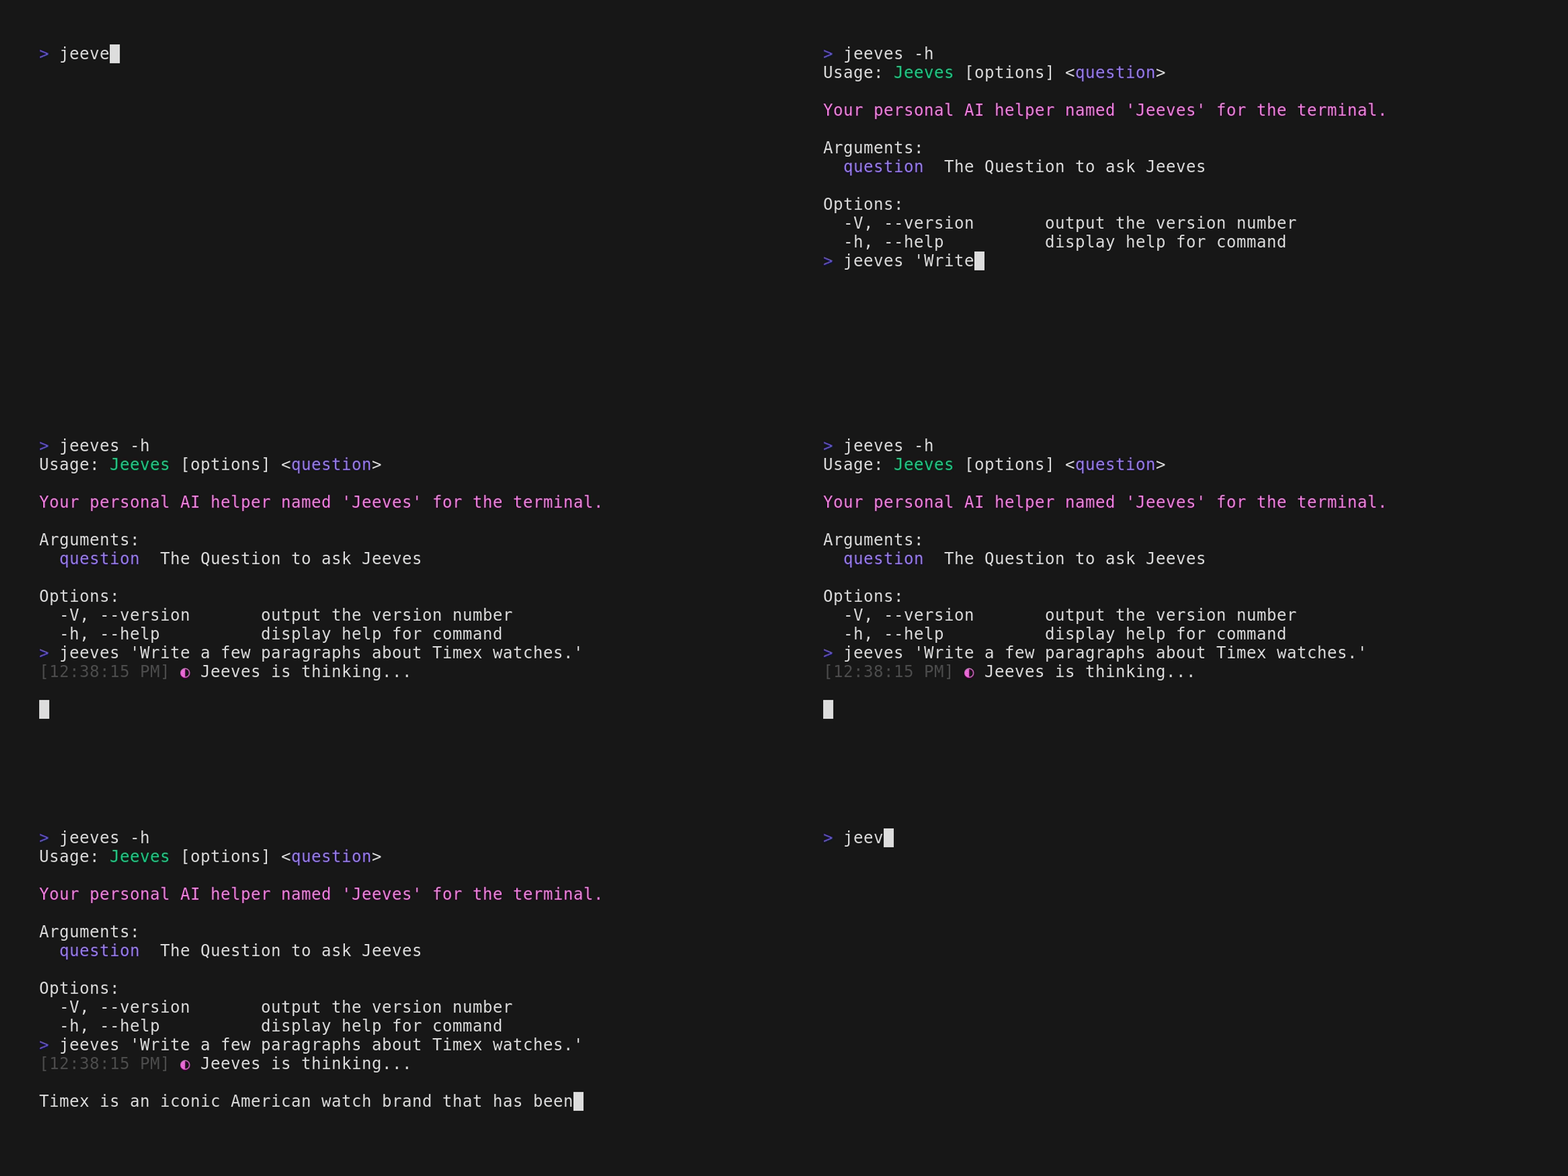
This is the second part to the Ollama AI self hosting series. In this article, I’ll show you how to make a simple Linux terminal AI helper with just a few lines of JavaScript code.
How cool would it be to have your own local AI helper in the terminal for whatever questions you have or problems you need solving? Using the ollama-node JavaScript library, I’ll show you how to make a helper named “Jeeves” that can solve problems and even generate code for you.

The ollama-node library is simply a wrapper around HTTP requests to the provided URL of your Ollama server. You can choose to either stream the results from the model back continuously so that you can see each token coming in, or you can just wait for the entire reponse to come back as one JSON response.
I decided to use Bun for this project instead of NodeJS, but you can use either one. You’ll also need some additional libraries, namely consola, commander, and chalk for dealing with terminal input and making things look nicer.
import consola from "consola";import { Ollama } from 'ollama-node';import { Command } from 'commander';import chalk from 'chalk';
const program = new Command();
const name = chalk.greenBright("Jeeves");const desc = chalk.magentaBright("Your personal AI helper named 'Jeeves' for the terminal.");const arg = chalk.blueBright("question")
program .name(name) .version("0.1.0") .description(desc);
program .argument(arg, 'The Question to ask Jeeves') .action(async (str) => { consola.start("Jeeves is thinking...\n");
const ollama = new Ollama("Your-Ollama-Server-Addr"); await ollama.setModel("zephyr");
const printword = (word: string) => { process.stdout.write(word); }
await ollama.streamingGenerate(str, printword, null, null); })
program.parse();Once you have this code written in a Typescript file, you can then run bun build ./index.ts --compile --outfile jeeves which will bundle your project into a final executable along with the Bun runtime. This will increase the size of the file to around 100MB, but this should not be an issue with computers these days.
Once you have the executable in the current directory, you can run ./jeeves -h in order to get helpful information about how to use the client. To make use the inferencing functionality, all you do is encase the question you have for “Jeeves” in quotes after you invoke the client - ./jeeves 'Your question here'.
