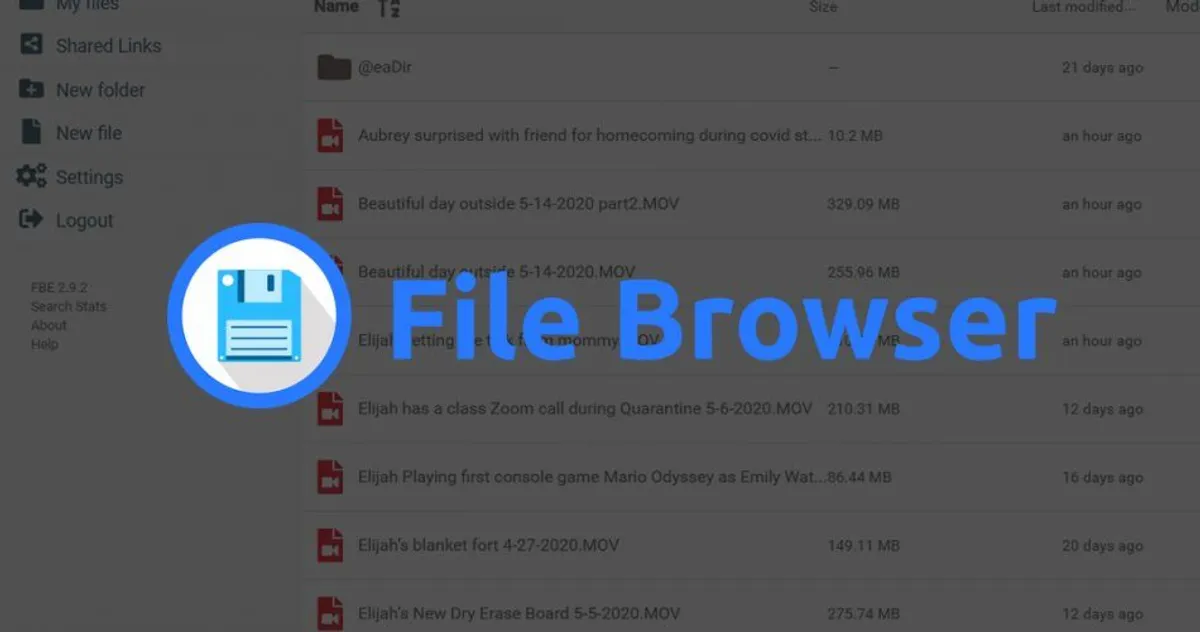
If you’ve got a home server or homelab running linux headlessly, you may want to have a simple web user interface to see that file system. The software called File Browser has got you covered. The nice web GUI that File Browser provides simplifies the process of downloading and uploading files onto your server. Chances are however, if you use linux, then you are familiar with its file system and how it works. You are most likely familiar with the linux terminal and access your files through it. Being the savvy linux users that we are, we can use rsync in the terminal to transfer files from one computer to another remote source machine.
File Browser allows us to have this functionality but with a nice web graphical user interface. It can be containerized
and self-hosted with Docker, which is what I will use here (Docker-compose) within a minimal
Ubuntu image on a virtual machine spun up using Proxmox. Inside of my home directory I create
a new folder using mkdir file-browser and inside of that folder I’ll make a new file called “file-browser.db” using the
touch file-browser.db command. Once that file is created,
next up we create the docker-compose file using touch docker-compose.yml that will be used to orchestrate and start up the Docker image.
Here is the docker-compose.yml file that I use to start up File-Browser:
---version: '3.7'services: file-browser: image: filebrowser/filebrowser:latest container_name: file-browser user: 1000:1000 ports: - 8081:80 volumes: - /:/srv - /home/cmiv/file-browser/filebrowser.db:/database.db restart: unless-stopped security_opt: - no-new-privileges:trueInteresting to note that the ports being used here are port
80 for inside of the container and port 8081 outside of the
container. You can use any ports you’d like here for your personal setup, but port 8081 is what I’m using locally. I’d also like to mention that File-Browser will serve the / root of your linux machine here in this configuration. If you want your home folder and everything within to be served, you can write /home here.
Once that docker-compose file is created and you’ve pasted the above into it, run the docker-compose up command in order to start the container. Once it is started, you’ll be able to see the web GUI on port 8081.
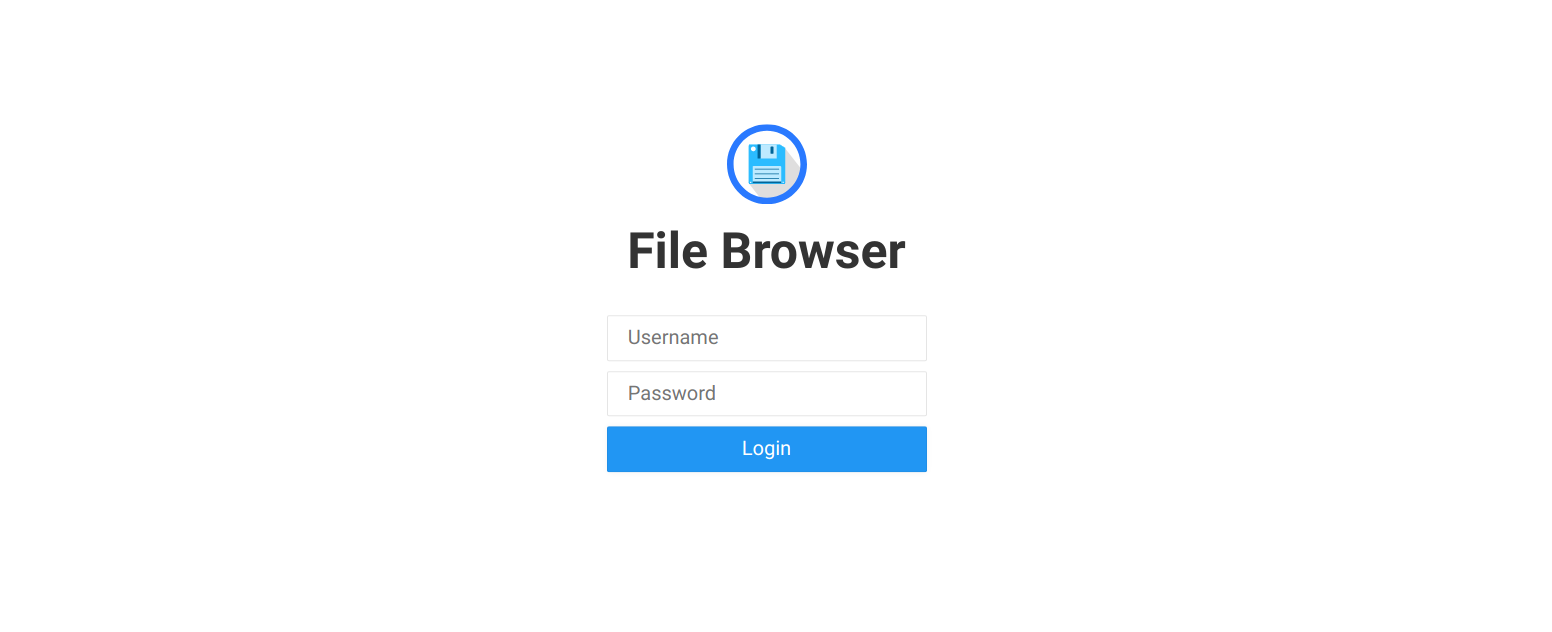
The default login information is admin for both the username and password, so once you login you want to change your password to something
more secure. Once logged in, you can see all of your served files and folders based upon the path that you have configured within the docker-compose.yml.
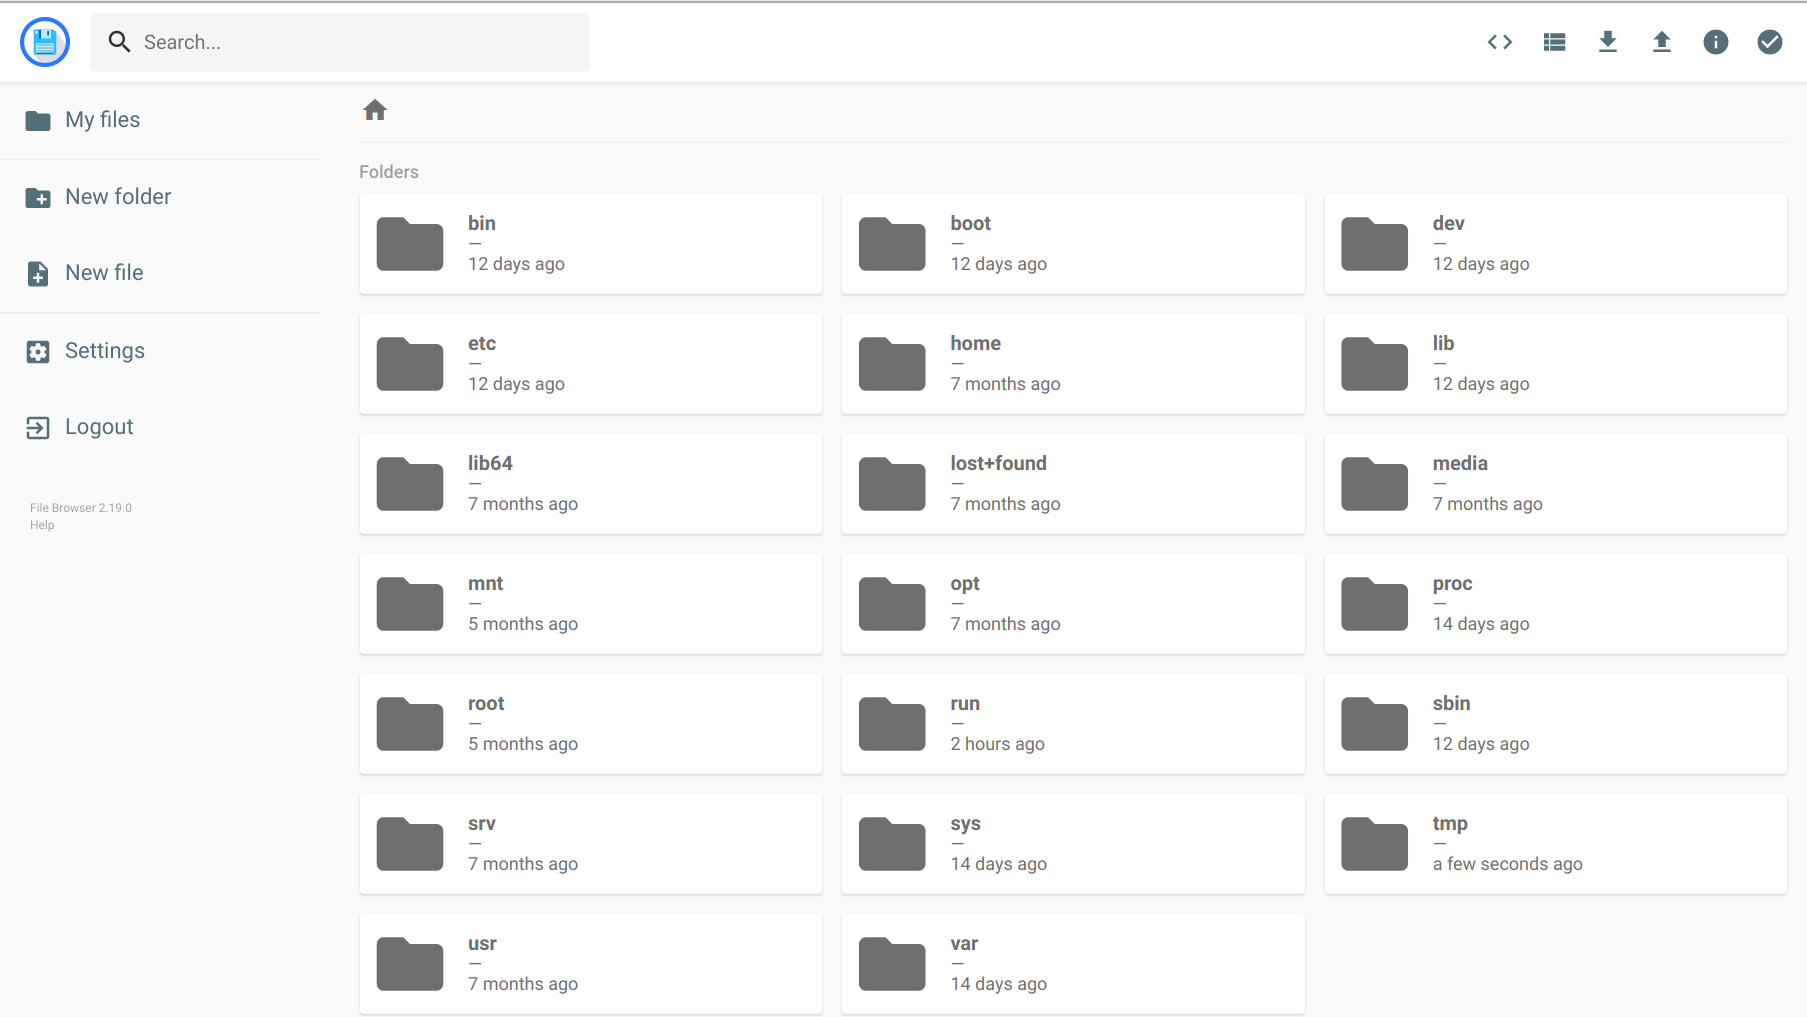
In the top right corner of the page is the upload and download buttons. Provided that your linux user owns the file/folder that you want to upload, you can click on the upload button and find something on your local host machine to upload to your server. This can be easily used in conjunction with a self-hosted media player solution like Jellyfin, however that walkthrough will be for another post.